The Free Easy Box
Last week I had to make 18 boxes in one evening. My internet searching led me to lots of fancy templates with lots of cutting. Those of you who know me, know I have limitations on my fine motor activities. So when the internet doesn't give me a box, what do I do? I create my own :)
Welcome to my super-simple box . . .

Start by choosing fun paper with card-stock stiffness. You can also watercolor your own paper like we did. This was light-watercolor paper, not too thick.
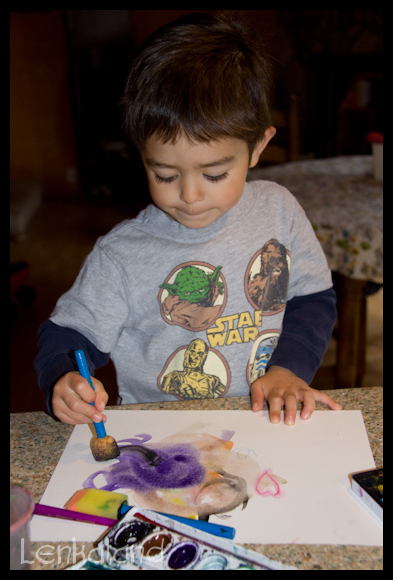
A hint when painting with children- give them limited colors. Usually warm (red,orange, yellow) or cool (blue, green, purple). These mix well without making mud. I didn't follow this advice today. Ian quickly found the black. Loved it. Which was fine since he was making a box for himself.
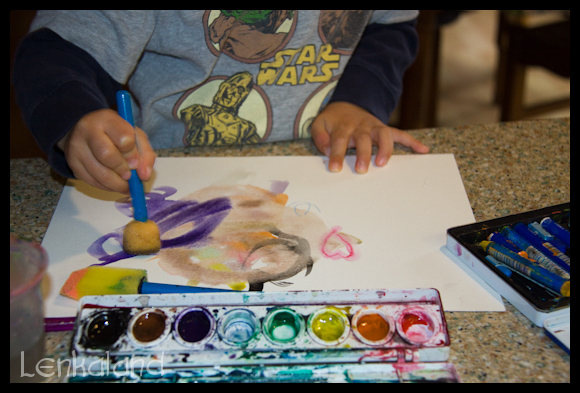
I used Lyra watercolor crayons

This paper I drew first, then traced the designs with water.

For the box, you will need paper, tape, and scissors. My frog-tape was a gift from my daughter when she was 3 years old. Quite fancy :)
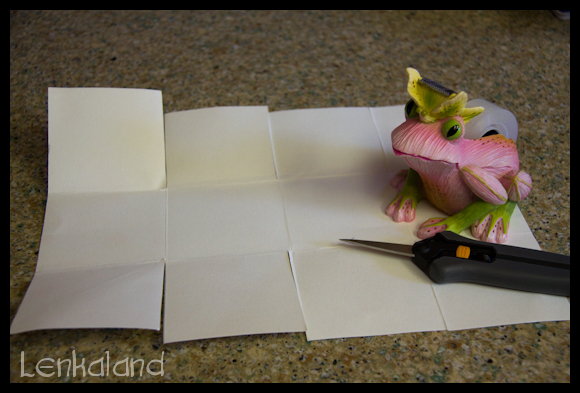
My original box measured 9x12 inches. I made a template to find the fold lines on a scrap piece of paper before experimenting with the watercolored paper. I folded the paper into thirds along the length. I used the template to mark the watercolor paper where to fold for thirds. Of course, I could also measure, but that would require a ruler :)
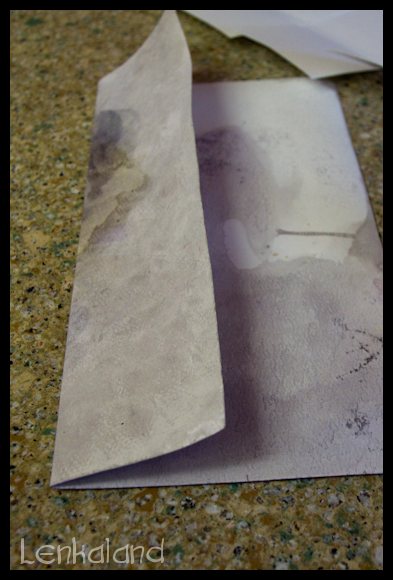
Fold the paper into thirds along the length.
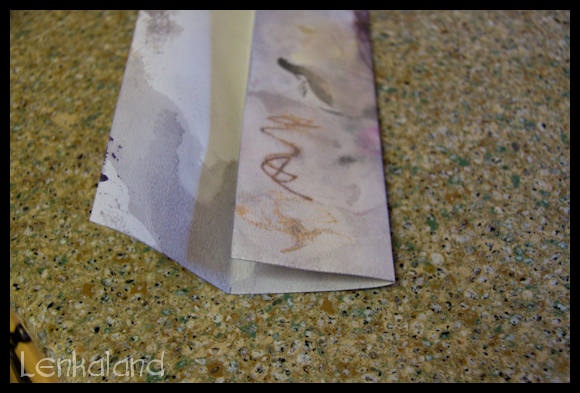
Now open the paper and fold in half along the width of the paper. These folds cross your thirds-folds.

Fold in half again.

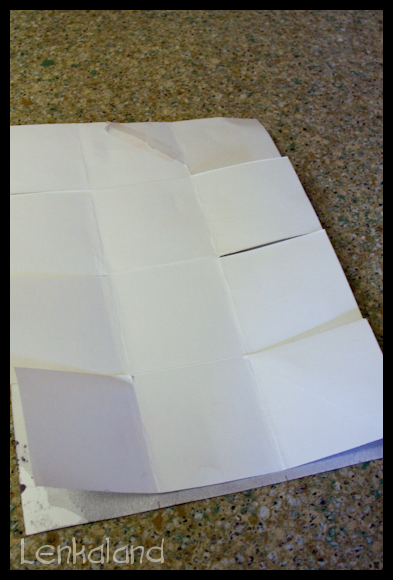
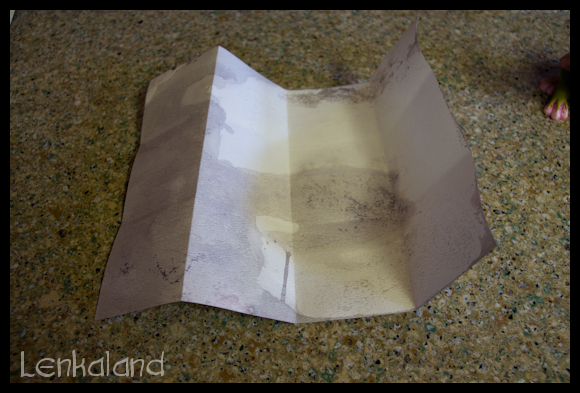
When you open it, you should see two fold lines going down the length, and three fold lines along the width of the paper.
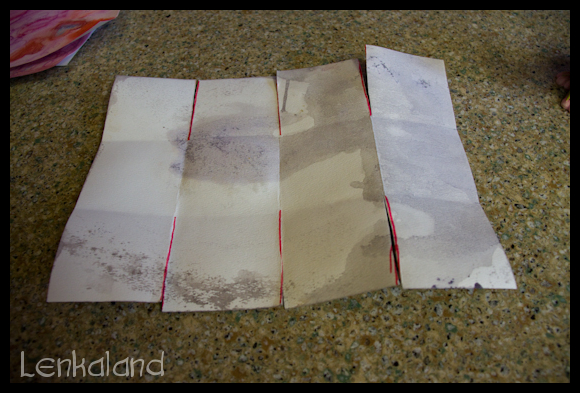
You can draw lines where you are going to cut. I didn't need these anymore, but I always draw lines for kiddos. You cut the three fold lines toward the center folds.

Of course two-year-olds love to cut, too :)

Your box is now ready for folding! Tuck the first and third panels towards the center, with the second panel wrapping around for a clean side.
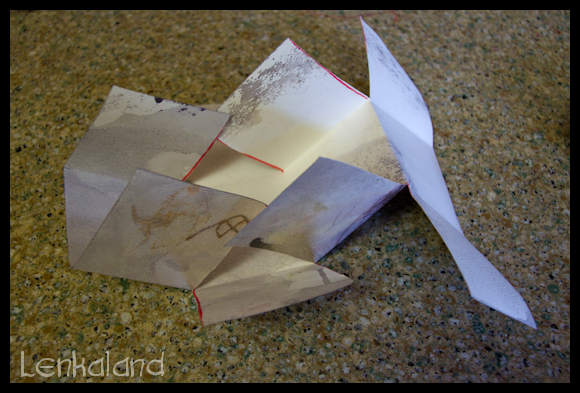
Tape them together at the top, wrapping the tape over the edge.

Tape both sides and you're done!
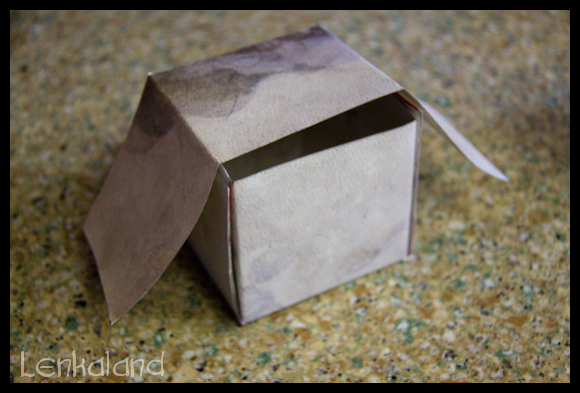
You can tuck the flaps inside the box for a clean look.

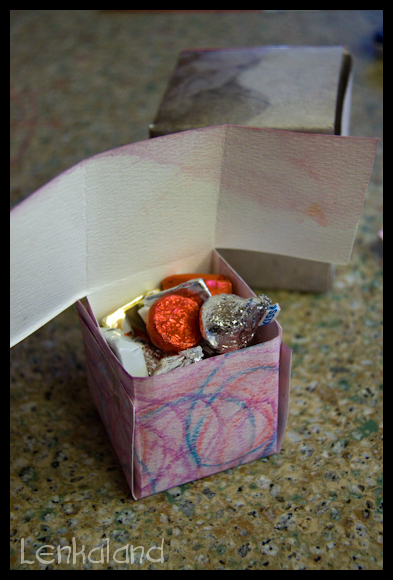
I cut a smaller rectangle for a candy-box.

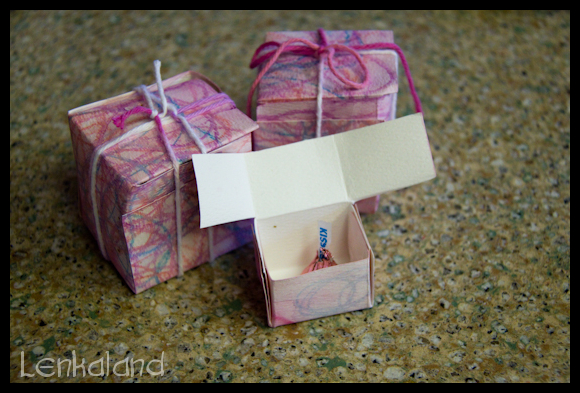
If the sides won't tuck into the box, you can fold them flat and use yarn to tie closed. You can make lots of different sizes. Enjoy!

And our 18 boxes for my students. We made chocolate dipped strawberries for their parents. Yum!

I hope you like the idea!